
A princess costume isn’t complete without accessories, so here are the Best Homemade Princess Party Accessories that will match your princess’ beautiful costume! They are easy to make and you can even get your little one involved! Children have loads of fun making these princess party accessories to compliment their princess look!
Homemade Flower Princess Tiara
Flower tiaras are so pretty and cute! They go especially well with a fairy princess costume or a Rapunzel themed costume, and they’re very easy to make!
Measure some wire around the wearer’s head and add roughly 2 inches to the length. Make a circle and overlap the ends, then secure the ends by twisting them together and wrapping florists tape all the way around the wire.
Grab some artificial flowers, like silk flowers, and cut them so they have up to 2 inches of the stem. Add these flowers to the wire base by wrapping florists tape around the stem and wire, keep wrapping the tape around the stem until it has extended about 1/2 inch past the end of the stem.
Keep adding flowers until it is as full as you would like it to be.
You can add ribbon to the back of the tiara for a more fun look! Simply grab about 3 different types of ribbon, double the length you would like the ribbon, and slip knot the ribbons at the same time at the back of the tiara.
Your little one will love her new flower tiara!
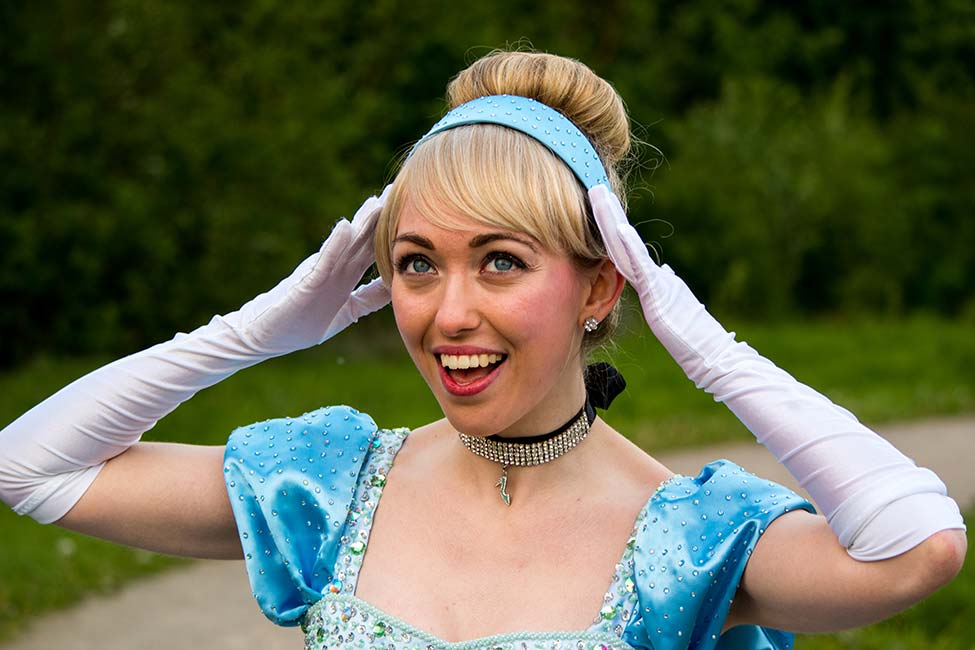
Homemade Cinderella Headband
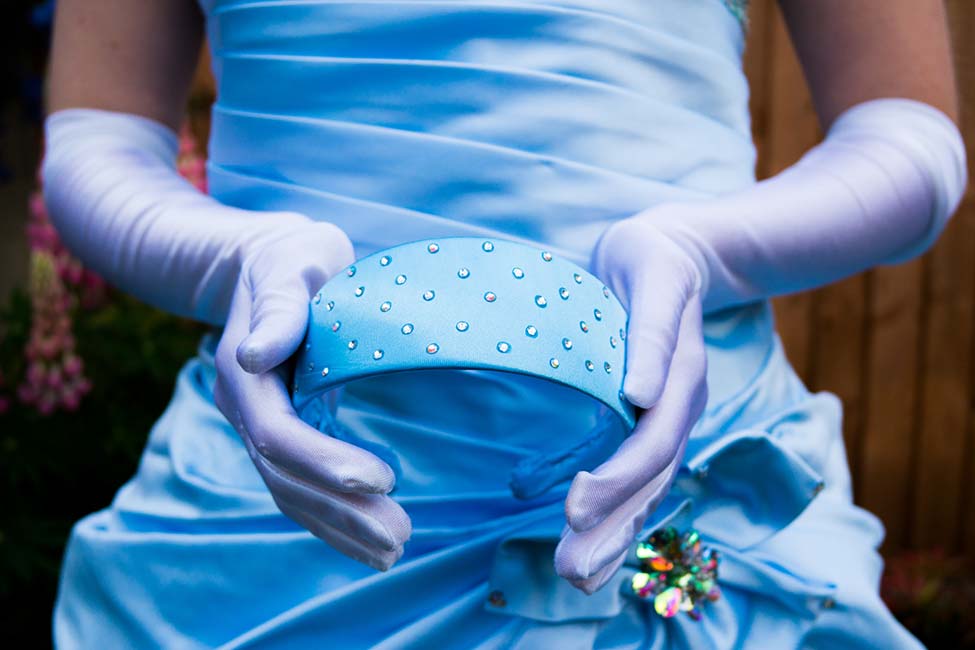
Cinderella has an elegant, blue headband to complete her look! If your little one’s favourite princess is Cinderella, then you can create a Cinderella headband for her that she can wear not only as part of a costume, but for everyday wear too! It’s quite difficult for children to create this accessory, so I suggest adults to make it for them.
Get a thick headband that fits the child, then grab some blue ribbon and wrap it and hot glue it around the headband.
You can also use some blue coloured fabric, like satin or velvet or the same material as the Cinderella dress. Wrap this material around the headband and sew it together.
You can stick on some diamonds to the headband for some sparkle too!
To see this homemade headband in action take a look at our Cinderella Character who wears it so elegantly!
Homemade Elsa Inspired Ice Crown
An ice crown will go perfectly with any Elsa costume, and they’re so unique too!
Grab a fabric headband or a tiara base. If you only have a metal headband or tiara base, then cover it completely with ribbon or other fabric.
Grab a glue gun and glue some lines on parchment paper or baking paper to create icicles. Cover them with glitter as soon as you make the icicles, whilst they’re still hot and sticky!
Once the icicles are completely dry, shake off the excess glitter and glue the icicles onto the headband. You can use a range of different shades of blue and silver glitter for a more magical ice crown!
Homemade Snow White’s Red Bow
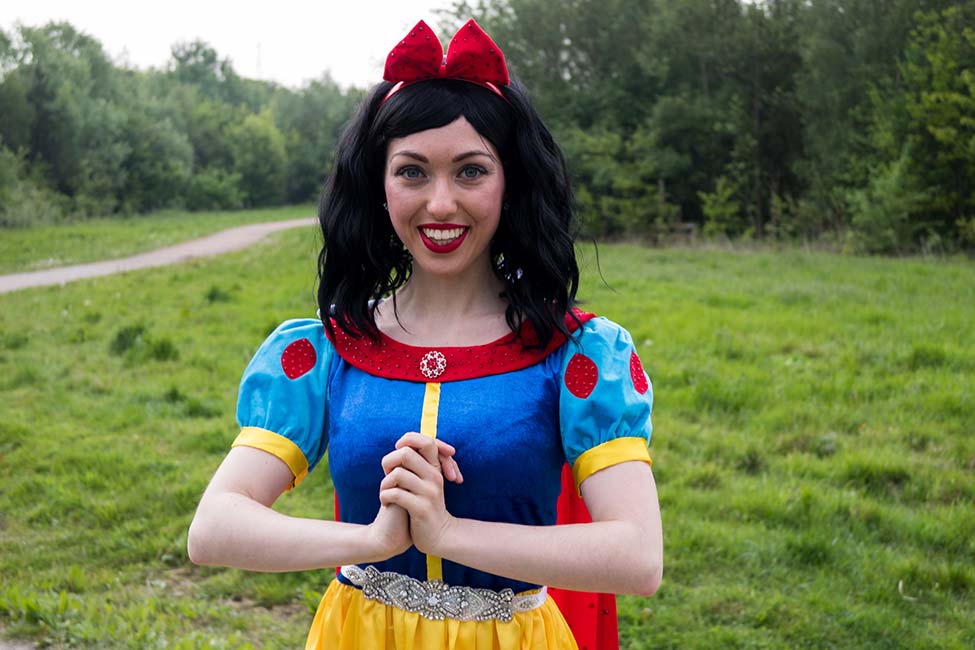
Creating Snow White’s iconic red hair bow is quick, easy and looks very neat and tidy, just like Snow White!
Grab a thin headband and cover it with red ribbon. You can hot glue the ribbon to the headband, or twirl the ribbon around the headband and sew the ends.
Then, grab a long strand of thick, red ribbon and create a bow. You may need to fiddle and play around with the ribbon bow to make the perfect shape.
Sew the middle of the bow together to keep it’s shape, and lightly singe the ends with a candle or a lighter to prevent them from fraying.
For a more Snow White look, you can put the ends of the bow behind the two loops.
Finally, stitch the bow onto the headband to finish the Snow White look!
Take a look at our very own Snow White Character available for party bookings!
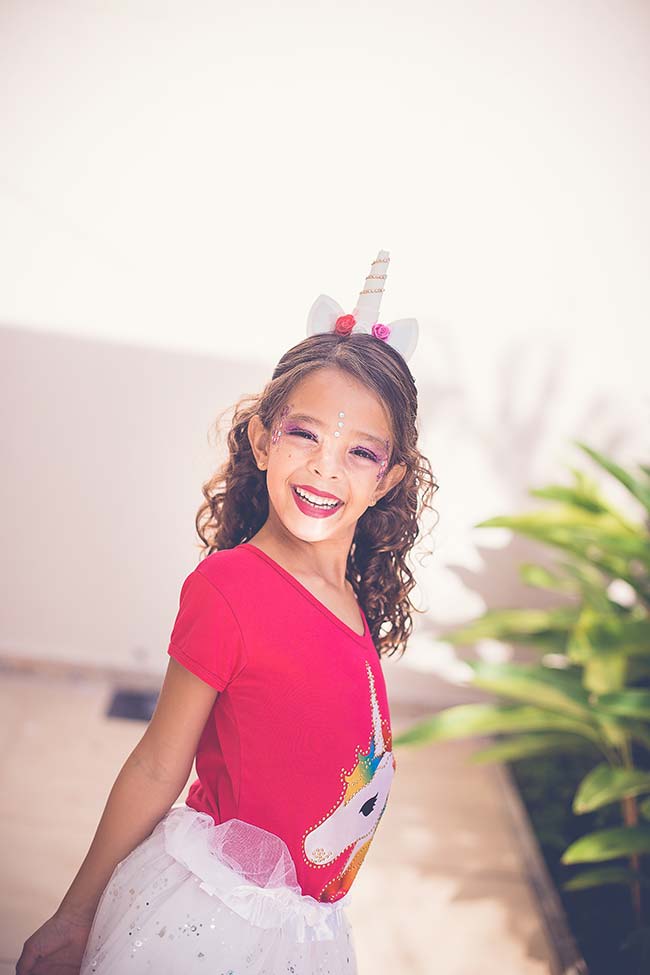
Homemade Elastic Unicorn Princess Horn
Children love unicorns and they’re becoming more and more popular!
The easiest way yo create a unicorn horn is by cutting a large cone shape with a rounded bottom from some card. Roll this shape into a cone and tape or glue the ends to secure the horn in shape.
Then, using a glue gun, glue two pieces of ribbon inside the bottom of the horn at opposite ends to each other. You can place the horn on the unicorn princess’ head and tie the ribbons into a bow underneath her chin to keep it in place. Instead of using ribbon, you can also use elastic.
Once you’ve created the horn, it’s time to decorate! You can decorate using water you like! You can use paint, pens, pencils, ribbon, stickers and glitter!
Homemade Unicorn Princess Horn Headband
Another way to create a unicorn horn is to make a unicorn headband!
Grab a large sheet of foam and cut diagonally from one corner to the other, creating two big triangles.
Roll one triangle into a cone shape and glue the come in place, using hot glue. Then, cut the bottom of the horn so it can stand up and is even.
Cut a fringe by snipping around the bottom of the horn every cm, and snipping roughly 1 cm high.
To create a base for the horn, use the leftover foam and cut a circle that’s slightly bigger than the bottom of the bottom of the horn.
Grab a headband and hot glue the foam circle onto it, then hot glue each piece of the fringe from the bottom of the horn onto the foam circle base.
It is time to decorate! You can decorate the unicorn horn with whatever you like! Stickers, glitter glue and pom poms are fab ideas! I love the idea of sticking ribbon to the top of the horn and letting it flow!
Our Unicorn Princess Character has her very own homemade unicorn horn headband!
Homemade Fairy Princess Wings
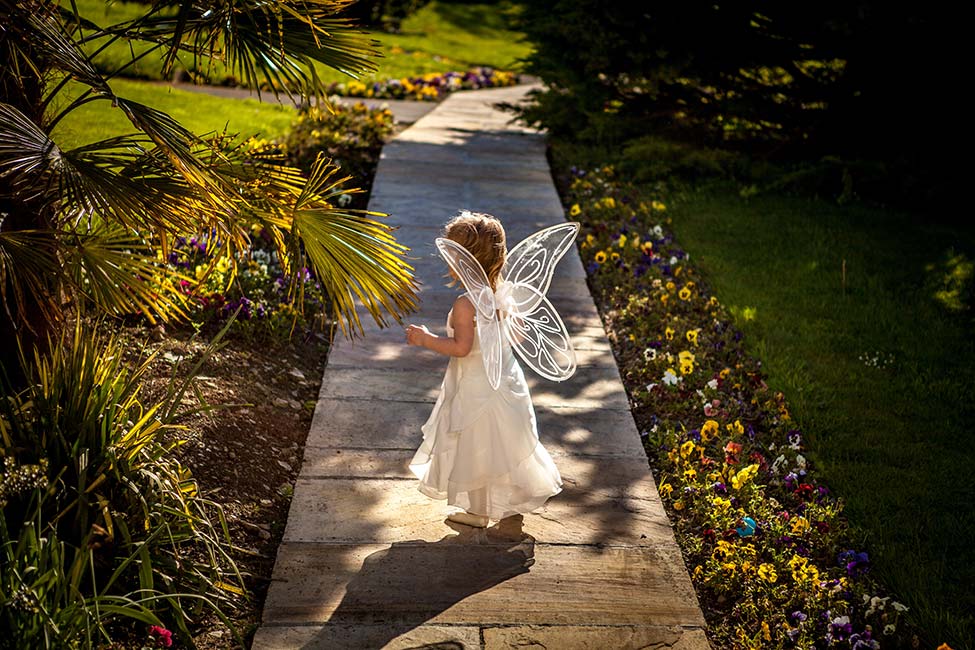
No fairy princess costume is complete without fairy wings, so why not have a go at making your own fairy wings? They’re great fun to make and you can match them to whatever fairy costume you have!
Start by bending four wired hangers into the shape of wings, making them symmetrical with the two top hangers being the same shape and size and the two bottom hangers being the same shape and size. Then cut off the hanger hooks with wire cutters.
Cover the wings with sheer stockings or tights, one leg per hanger. If using tights, cut off the top of the tights so you have four separate leg holes. Tie a knot at the toe of the stocking and hot glue them to the top of each wing.
Once it’s dry, stretch the sticking to cover each wing and hot glue the excess material around the bottom of each wing.
Arrange the wings and secure them with duct tape. Tie and secure some elastic around the duct tape for the arm holes.
Using coloured felt or fabric, cover the duct tape by hot glueing the felt or fabric around it.
Decorate your fairy wings with coloured spray paint and glitter glue! There is even glitter spray paint for extra sparkle!
Best Homemade Princess Party Accessories
Thank you for reading this article all about the Best Homemade Princess Party Accessory Ideas! For even more arts and crafts ideas and ideas on how to make a fairy wand, take a look at our arts and craft article! To make a matching costume for your princess party accessory, take a look at our costume article!